Garden

Showing posts with label Preserving. Show all posts

Tuesday, September 25, 2012

Homemade pesto


Basil harvest!
I love basil. Nothing smells like summer to me more than basil. I have several bush-like plants that I am hoping to winter over in the house, but I know it won't fare very well because I don't have a lot of direct sunlight. So I've opted to make pesto.
Pesto is a great way to preserve that lovely flavour for the winter. You can enjoy it on pasta (with sour cream and Parmesan), spread on a sandwich or wrap, or in a soup or casserole to add a pop of flavour.
Traditionally pesto is made with basil, olive oil, garlic, pine nuts and a hard cheese such as parmesan or romano. I used walnuts because they work just as well as pine nuts... (and they're way cheaper).  I used roasted garlic because I prefer a more muted garlic flavour, but if you like that sharp fresh garlic flavour, go for it.                                                                  
Be prepared for what seems like a huge amount of basil to reduce to about 2 cups of pesto.

Ingredients:
7 cups loosely-packed basil leaves
1 cup walnuts, toasted
1 cup grated parmesan cheese
1/2 cup olive oil
2-4 cloves of garlic


Slow-roast the walnuts in a cast-iron pan or in the oven until browned.


Throw the whole lot in the food processor and pulse a few times to get it going then blend until smooth.  Add  more oil if you want a smoother texture. 

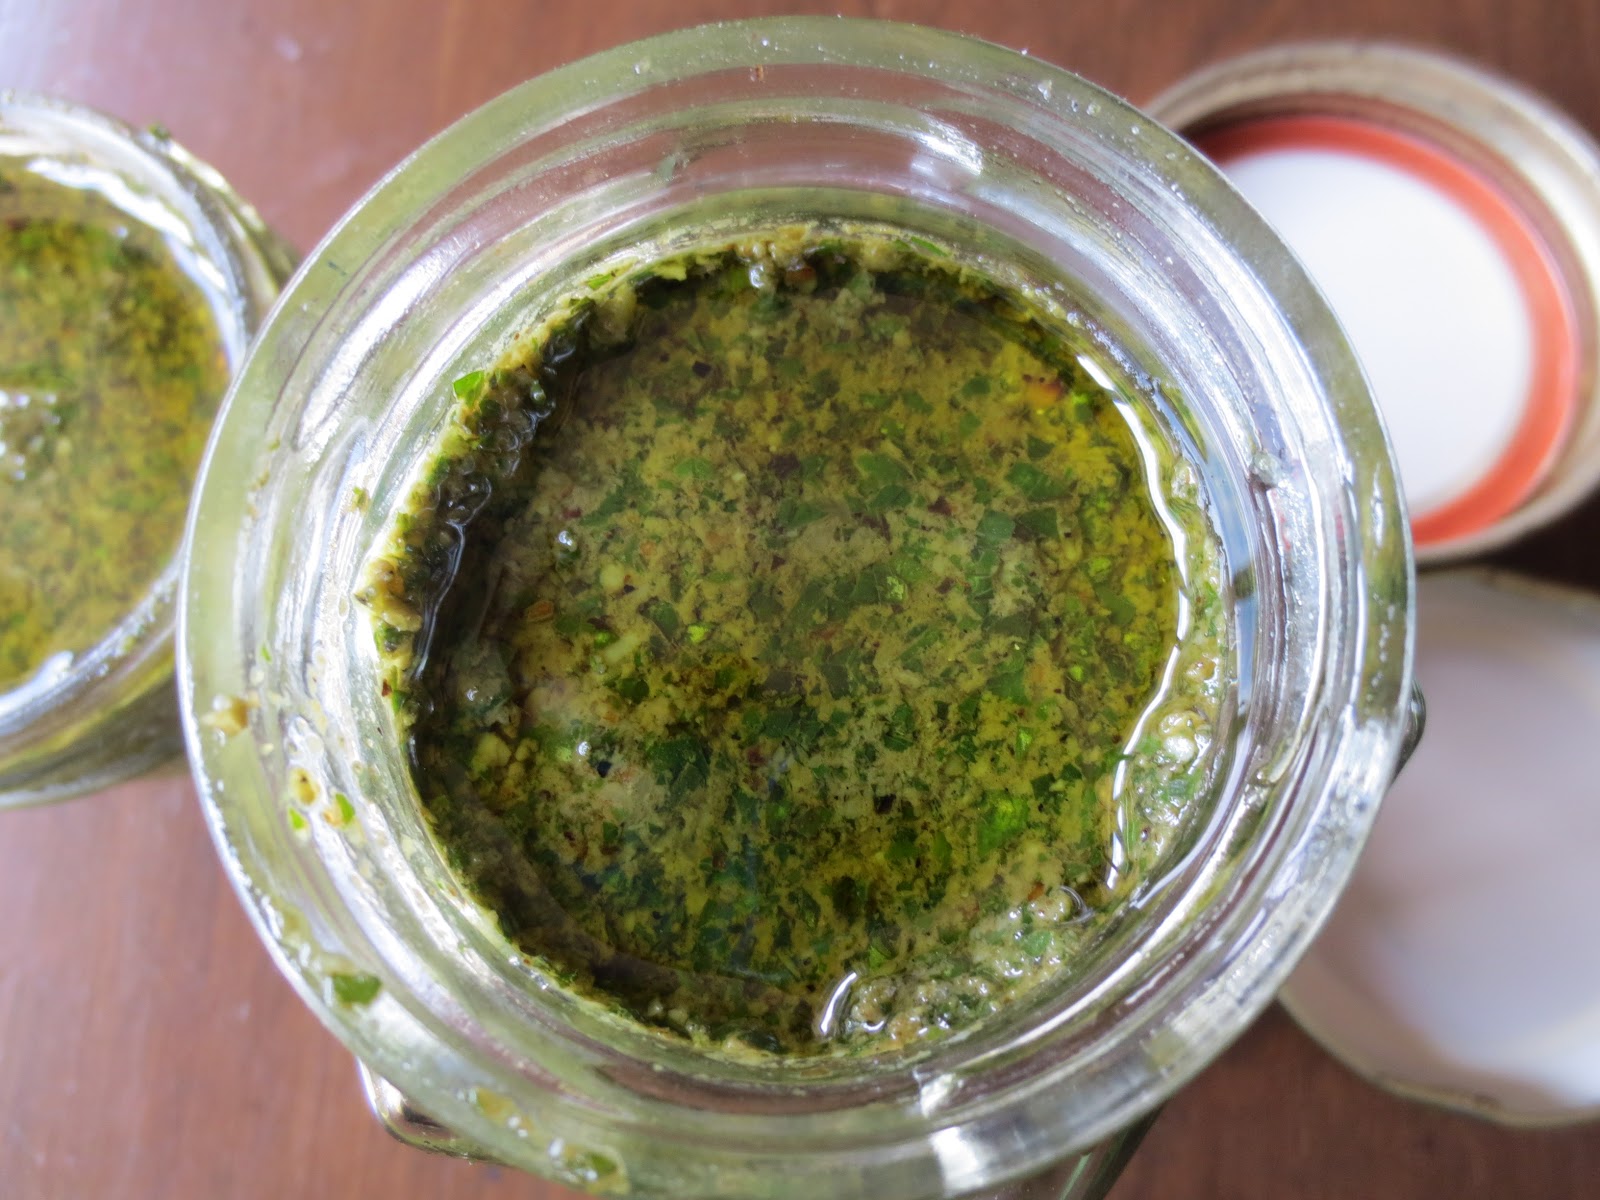
Scoop into jars and try not to eat it all at once. 


                                          Cover with a slick of olive oil, it should help prevent browning. 


It will keep in the fridge for a couple weeks, or in the freezer for months. 


Saturday, September 8, 2012

Homemade tomato sauce


 It's tomato season. And I made tomato sauce.  It's something I've always wanted to do. Like skydiving.
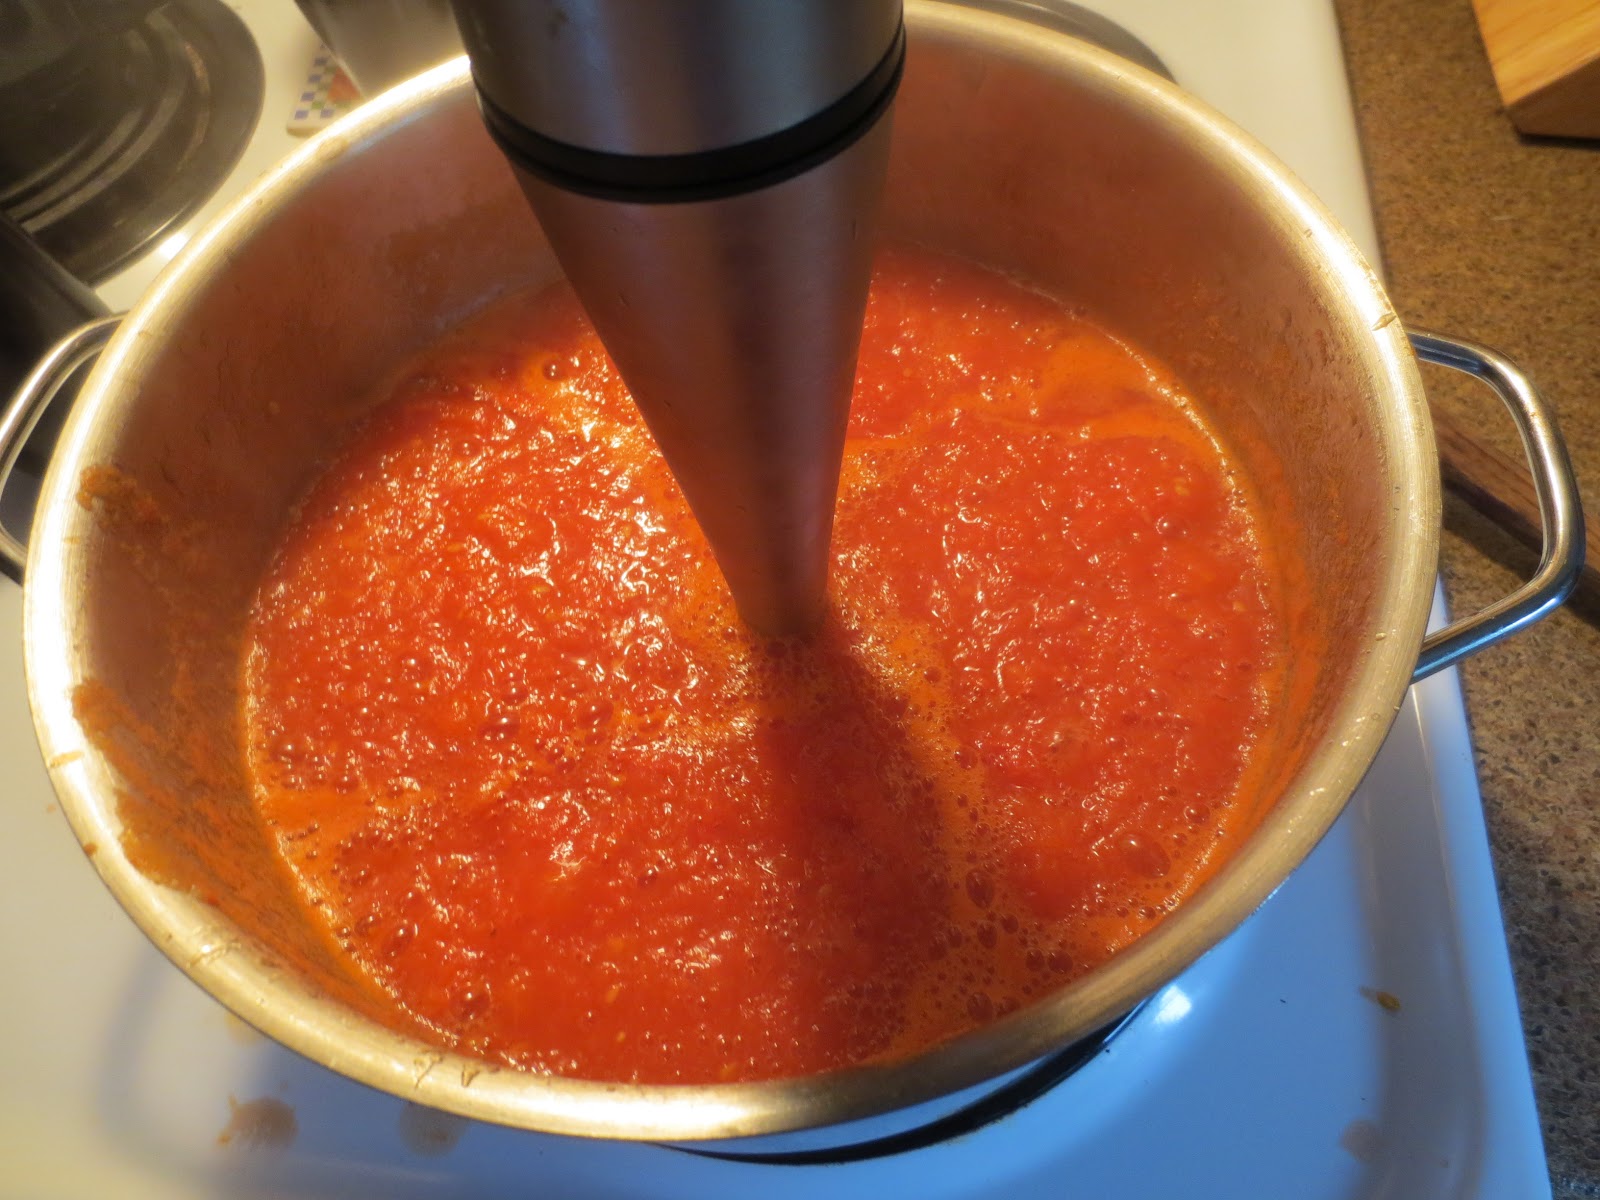
Here it is in pictures. It's really not an exact science.
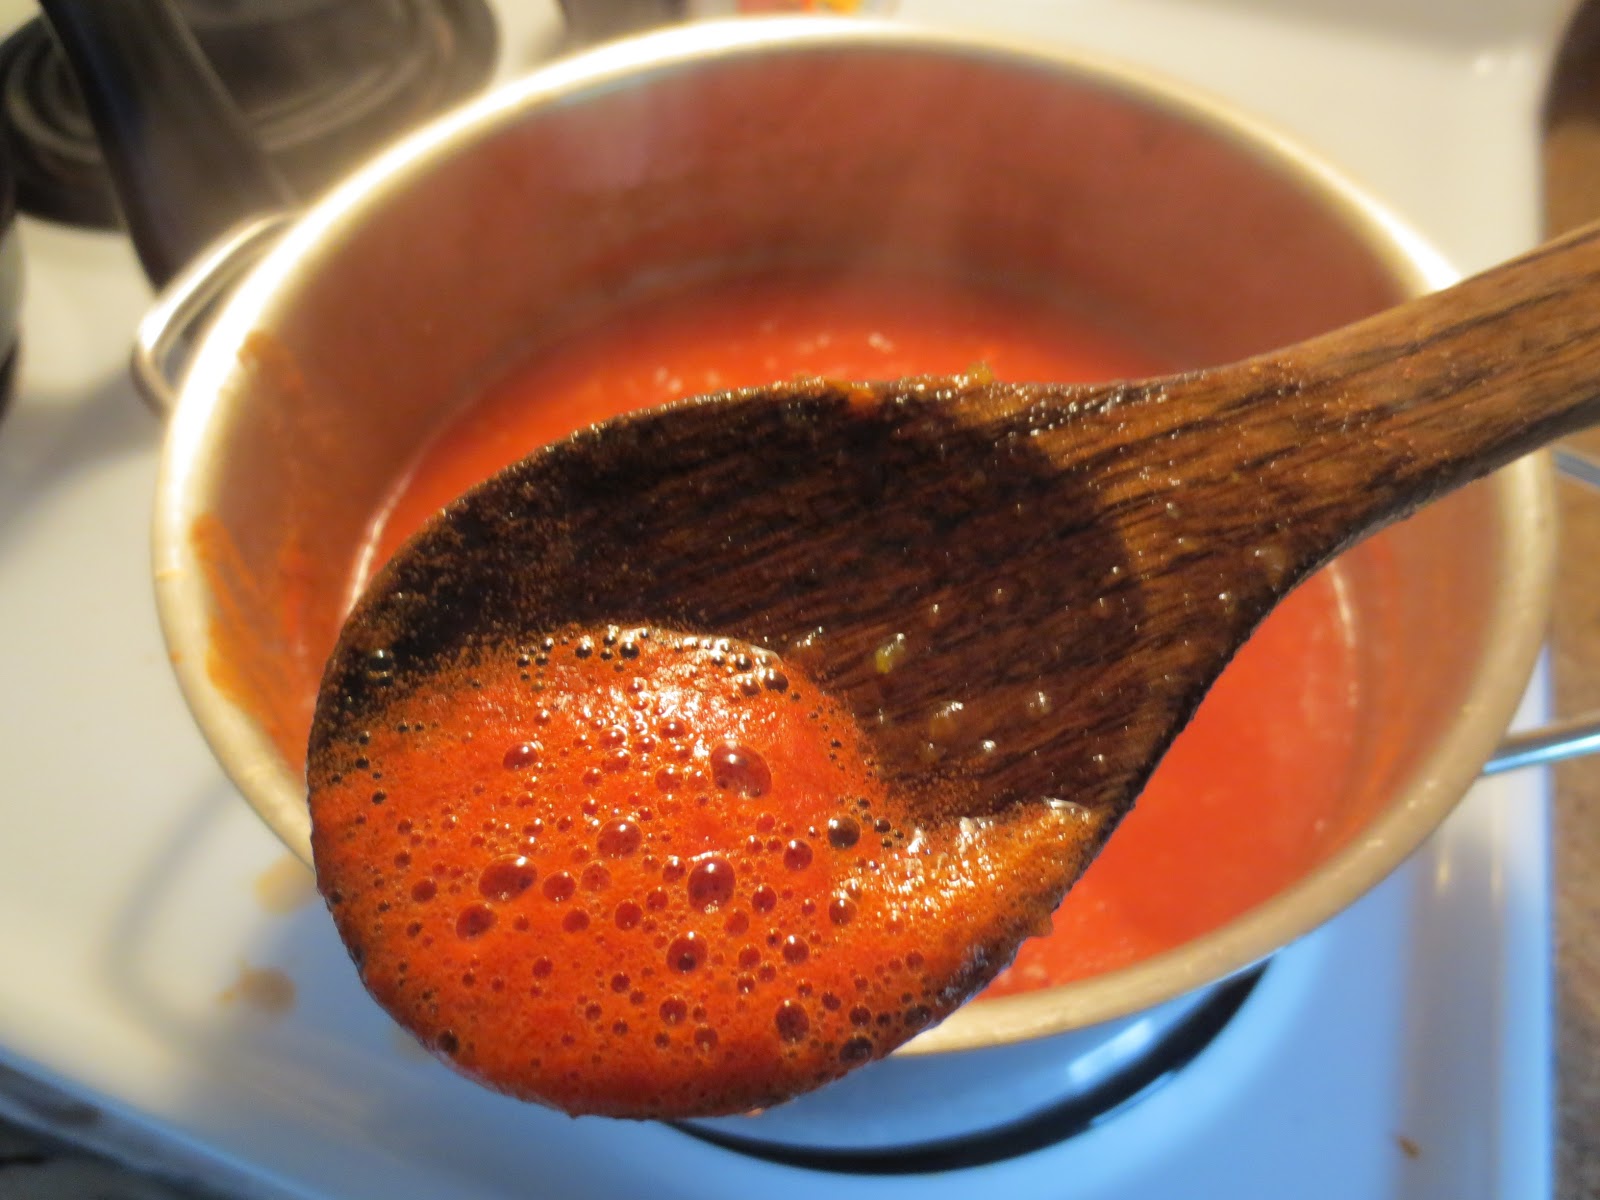
Start with tomatoes, garlic, onions and olive oil. Roast the whole lot, blend and freeze.
(or can if you can. :)

I can't claim these were my garden tomatoes unfortunately. Mine are ripening in a nice gradual way which means I get to enjoy some every day but not in large quantities.


Garlic that my brother grew. I'm so proud.
Drizzle in olive oil and wrap in tin foil. Bake.


 I roasted them at 400 for about 1 hour.  It smelled amazing.


Mmm... roasted garlic. A whole new world has just opened up.


This stuff is going to be great on spaghetti, in chili, lasagna... Mmmm. 


Like how Sophie's toy photobombed that one?

Wednesday, September 21, 2011

Crabapple Jelly

Making jelly is meant to be fairly simple, just boil, strain and boil some more. But I am a creative cook who likes to improvise, but with some things (like jelly) apparently improvisation does not work. I have learned this from experience - mostly my jelly not jelling properly. So this time, I decided to follow the recipe and learn how jelly works. Although, I must admit even after all that my insecurity kicked in and I poured in a pouch of liquid Certo as back-up. It probably didn't need it, so decide for yourself if you want to use some.

You can find crabapples pretty much anywhere this time of year. A friend gave me about 5 lbs from their tree, so I didn't have to go far.

I started off reading through the jelly section of my Joy of Cooking. I learned that the balance between fruit juice and sugar must be just right for it to jell, as well as the temperature of the syrup. For crabapples they call for about a 1-1 or 3/4-1 ratio of sugar to crabapples. For some sweeter fruits, that ratio would be lower. I also learned that in order to get a beautiful, clear syrup you shouldn't disturb the apple mixture as the juice is being strained (like squishing it down to get the most syrup you can... again, I learned from experience). Ok, now I feel ready to get started.

*As for any preserving, make sure your bottles and lids are ready to be sterilized in boiling water just before pouring in the jelly.

Crabapple Jelly

Ingredients:

- about 5 lbs of crabapples
- white sugar (amount will depend on how much juice you get)

* If your apples are a drab yellowish-green (like mine) add a handful of fresh raspberries or blackberries for some colour


Directions:

Quarter your apples and place in a large pot along with your berries if you choose. Cover with water and bring to a boil. Cook until fruit is soft then mash it up. Stretch a cheesecloth or piece of old sheet over a large bowl to strain the juice. I use clothes pins to attach the fabric to the edge of the bowl. Spoon your fruit mixture onto the cloth and wait. And wait. And wait some more while ALL the juice strains out. When you can no longer hear the juice drip into the bowl, measure the juice into a pot. Bring to a boil, then add either 3/4 cups or 1 cup of sugar for EACH cup of juice. Boil the mixture for around 30 min. Test by spooning up some syrup and slowly dribbling it over the edge. If it no longer drips in a liquid stream but rather two drops form together, you should be good to jell. Another good test is to ladle a little jelly into a bowl and wait to see if it begins to jell. If you are not sure, boil a little longer.

Sterilize your jars and lids (check my post on beets for further instructions).
Then pour in your jelly and twist on the lids.


Allow to cool to room temperature before storing in a cool, dark place.


I love how the raspberries really helped to give it a beautiful colour.

Sunday, September 11, 2011

Pickled Beets

You may love them or you may hate them but when the mood strikes me I can sit and snack on
half a jar of pickled beets. They have a flavour and colour that are just beautiful. I remember
reading that the more colourful your fruits and veggies, the higher the nutritional content. If anyone has cooked with beets you will know they are just about the most colourful food out there! In fact they will colour whatever they touch, your hands, your sink, your cutting board, anything. Beets are full of good things like anti-carcinogens and carotenoids, they are low calorie and just a great side-dish to any meal (well, maybe not breakfast). I made a great batch about 2 years ago and have recently eaten my way through the last jar, just in time to buy a 10 lb bag of fresh beets to pickle. Of course I have no idea what recipe I followed last time, so I'm flying blind baby - I hope they're as good as last time!

CANNING
If you have never canned before, it can be an intimidating process. However, if you are organized and have a system that works, you can really minimize time and mess.
You want to make sure that your jars and lids are washed and ready to be sterilized. Have a pot of water on the stove ready to boil for just such an occasion. Prepare your syrup/brine/spices before you start cooking your vegetables (or fruit).

Pickled Beets Recipe

Warning: Be ready for your kitchen to look like the crime scene from some gory movie...


Ingredients:

- 10 lbs of beets

Brine

- 10 cups vinegar
- 5 cups sugar
- 3 tbsp whole cloves


Directions:

Clean your beets and boil until just soft. Place your larger beets in first, and addthe smaller ones a few minutes later so they finish cooking around the same time. This should take around 15-30 minutes, depending on the size of your beets. While they are cooking, combine vinegar, sugar and cloves in a pot and bring to a boil. Also, bring your pot of water to a boil to be ready to sterilize your jars and lids.

When the beets are tender, drain and peel off the skin and
nubs. If they are sufficiently cooked the skin and nubs should just slip right off.

Sterilizing
Lay in your pot of boiling water however many jars will fit. Cover and allow to sterilize for about 3-4 minutes. Lift out with tongs and empty, then place right side up on a clean dish towel. When you are finished, pour some of the boiling
water over your lids and let them sit for a few minutes.


Cup up your beets into whichever size you
want, (I usually cut 1/2 inch slices, then cut those in half) and pack them into your jars. Pour in brine up to 1/2 inch from the top.
To prevent having some jars that basically taste like a giant clove, reserve your cloves and portion them out, about 6-7 per jar.

Here is where you may have to do some juggling - you want to sterilize your jars at the right time so that they are still warm when you fill them with
beets and brine.


Take a warm, clean cloth and gently wipe the edge of the jar, then place a lid on the top (making sure not to touch the inside of the jar or lid) and gently twist on the other half of the lid. Now cross your fingers and hope they seal. If everything goes well, they will seal and keep for a year, but even if they don't, they should still stay fresh for several months. Store in a dry, dark place. The longer you allow them to 'pickle', the more flavourful they will become.


There is something so satisfying about seeing your little group of finished jars all lined up in a row, waiting to be enjoyed, getting more delicious with age.