Garden

Showing posts with label Chocolate. Show all posts

Thursday, November 7, 2013

Bailey's Pots de Crème

It's the dessert you've all been waiting for. It is the most creamily decadent chocolate dessert to ever grace your taste buds, and it is mind-numbingly easy. You make it in a blender for goodness' sake. I first heard of this type of dessert over at Pioneer Woman, and have made it dozens of times with success each time. I make it often enough that I have memorized the recipe. It's that good. If we have last-minute guests coming over, I throw this in the blender, pop it in the fridge for a couple of hours and voilà, a dessert worthy of the fanciest tables in the fanciest restaurants in, like, Paris or something. I've adapted Pioneer Woman's recipe a bit, substituted hot chocolate for the hot coffee and settled on Bailey's as my liqueur of choice. Honey whiskey is a flavour well worth trying though. 

Bailey's Pots de Crème

Ingredients:
Makes 4 generous portions, and doubles easily if you have a crowd coming over.

3/4 cups semi-sweet chocolate chips
2 eggs
1/2 tbsp Bailey's liqueur
pinch of salt

1/2 cup boiling water
1 heaping tbsp hot chocolate powder

Directions: 
Start your kettle boiling to have the water ready for a few minutes from now. Throw the chocolate chips, eggs, Bailey's and salt into the blender and blend well. 


Blend it real well. 


Mix together the hot chocolate powder with the just-boiled water. You want it to be really hot! When the mixture in the blender is as smooth as it will go, while it's still blending take the little round thing out of the top of the blender and slowly pour in the super hot chocolate.


The mixture will emulsify, slightly cooking the egg and giving the chocolate an amazingly smooth texture much like ganache. It's essentially chocolate mousse without the whipped cream. Delicious


Pour individual portions in ramekins or any other dish of your choice (check out Pioneer Woman, linked above, she had some good ideas). Sometimes I just pour it into a big dish for scooping or dipping things into. Refrigerate for at least 3-4 hours until firm, then serve with whipped cream.


My husband wanted me to take this picture and give it this caption - "This is what your bowl will look like 8 seconds after take your first bite."


For an even more decadent dessert (because that's what we all want) take those mini cream puffs from Costco and top with the chocolate stuff and whipped cream if you like. I think this may just be my favourite dessert of all time. I kid you not.


Oh good Lord. This honestly tastes like Heaven. Easiest make-ahead dessert you will ever make, and everyone will ask you for the recipe. :)

Wednesday, October 16, 2013

Chocolate Loveberries


 *Disclaimer* I know the picture looks like a messy bowl of chocolate covered mystery-lumps, but trust me. It's worth it. 

~~~~~~~~~~~~~~~~~~~~~~~~~~~~~~~~~~~~~~~~~~~~~~~~~~~~~~~~~~~~~~~~~~~~

My husband and I have been doing our annual liver-cleanse diet of no sugar, no processed food, no refined white products (flour, pasta...), no red meat, no alcohol, no recreational drugs (that one was really difficult.. j/k :) ... we feel great when we do it, we have lots of energy and sleep better, and it resets many of our eating habits. It is also a lot of work and I have to skip many of our meal short cuts like pasta and frozen pizza, make meal plans and think ahead - which is harder than it sounds! The really difficult part is no dessert because we both love sweets. And I love to make/bake sweets! I managed to find a couple recipes that satisfied our sweet craving while staying within our diet parameters. My secret weapon: maple syrup. Delicious unrefined sweetness, and you just need a little bit!  Honey works too, but I love me some maple. I came up with this recipe one night when we were craving ice cream. It's just a simple recipe of chocolate whipped cream folded with frozen berries. The berries freeze the cream and the berries thaw just enough to make the flavour really pop. Jamie came up with the name because he knew I made it out of love for a man who loves his chocolate (and was temporarily deprived of it...). We love it with blueberries and raspberries, but I'm sure it would be delish with chopped strawberries, blackberries, maybe even frozen peaches! Feel free to try any combination thereof.

Ingredients: (makes two portions)
Chocolate whipped cream
1/3 cup whipping cream
2 tsp of maple syrup
1 heaping tsp cocoa powder

1 1/2 cup frozen fruit, divided in two bowls.

Directions: 
Whip the cream with cocoa and maple syrup. I just do it by hand with a whisk, it takes just a couple minutes and you get a great wrist workout. The great whisk wrist workout I call it.


Portion out the frozen berries into two bowls. You can let them thaw a little if you like a softer, 
less frozen bite. 


                                   Top with 1/2 of the chocolate cream in each bowl. 


Fold it all together, let it sit a few minutes to get that nice frozen texture, and enjoy!


Tuesday, July 24, 2012

Jenni's Brownies


I was trying to come up with a name for these brownies but I couldn't find the right adjective to describe them.  Delectable, delicious, amazing, heavenly, divine... mere words just seem to fall short of the glorious chocolatey fudgey goodness that are these brownies.  So I went with the name on the index card with the recipe written on it that I got from my sister-in-law Jenni, which I think she got off the Hershey's website. She makes these brownies all the time. That's why I love her.  Well I guess there are other reasons too... but these brownies take the cake. (hihi)

This recipe is simple and is the closest thing to no-fail brownies that I have found.  I like my brownies chewy, a little fudgey with just a touch of cakey.  You don't make friends with dry brownies.  I make them in a pot and they make a big 9x13 pan of dangerous deliciousness that lurks in my kitchen and calls my name... which is why I try to give away as many as I can.

Also, as a side note, beware of trying to make these healthy.  If you want healthy go eat salad.

Jenni's Brownies

Ingredients:
1 cup butter (or margarine)
2 cups white sugar
1/2 cup cocoa
4 eggs
2/3 cup flour
1 tsp baking soda
1/4 salt
1 tsp vanilla extract
2 cups chocolate chips

Directions: 
First, preheat oven to 350­° and grease a 9x13 pan.
Melt the butter (margarine if you must) in a large saucepan on medium heat. 


As soon as the butter is melted turn the heat off.  If you leave it on it melts the sugar and changes the whole texture of the brownies. Learned that one from experience...


Add in the sugar. Be sure to get it all over the spoon like that. It's a key step. (jk)


Next mix in the cocoa. 


Add in the eggs and mix well. It would probably be good to mix them in one at a time, but what can you do... no time to spare when making brownies!


Dump the flour, baking soda and salt in the pot and gently mix ON TOP of the mixture.
Here is my secret trick to dirtying only one dish.  Except for the pan, which honestly is a beast to clean after all the delicious brownies have been eaten. It is definitely worth it.


Add in the vanilla and chocolate chips and mix quickly. The chocolate chips will start to melt a bit, which just adds another dimension to the chocolatey-ness of the whole thing. 


Pour into your buttered 9x13 pan. This picture makes me drool. 


Pop in the oven for about 35 minutes, until the brownies start to pull away from the pan.


Let cool on a rack before cutting into pieces as big or as small as you like. 


If you want, nuke for 10 seconds before enjoying with a glass of milk. 
Chocolate love at first sight. 

Monday, June 4, 2012

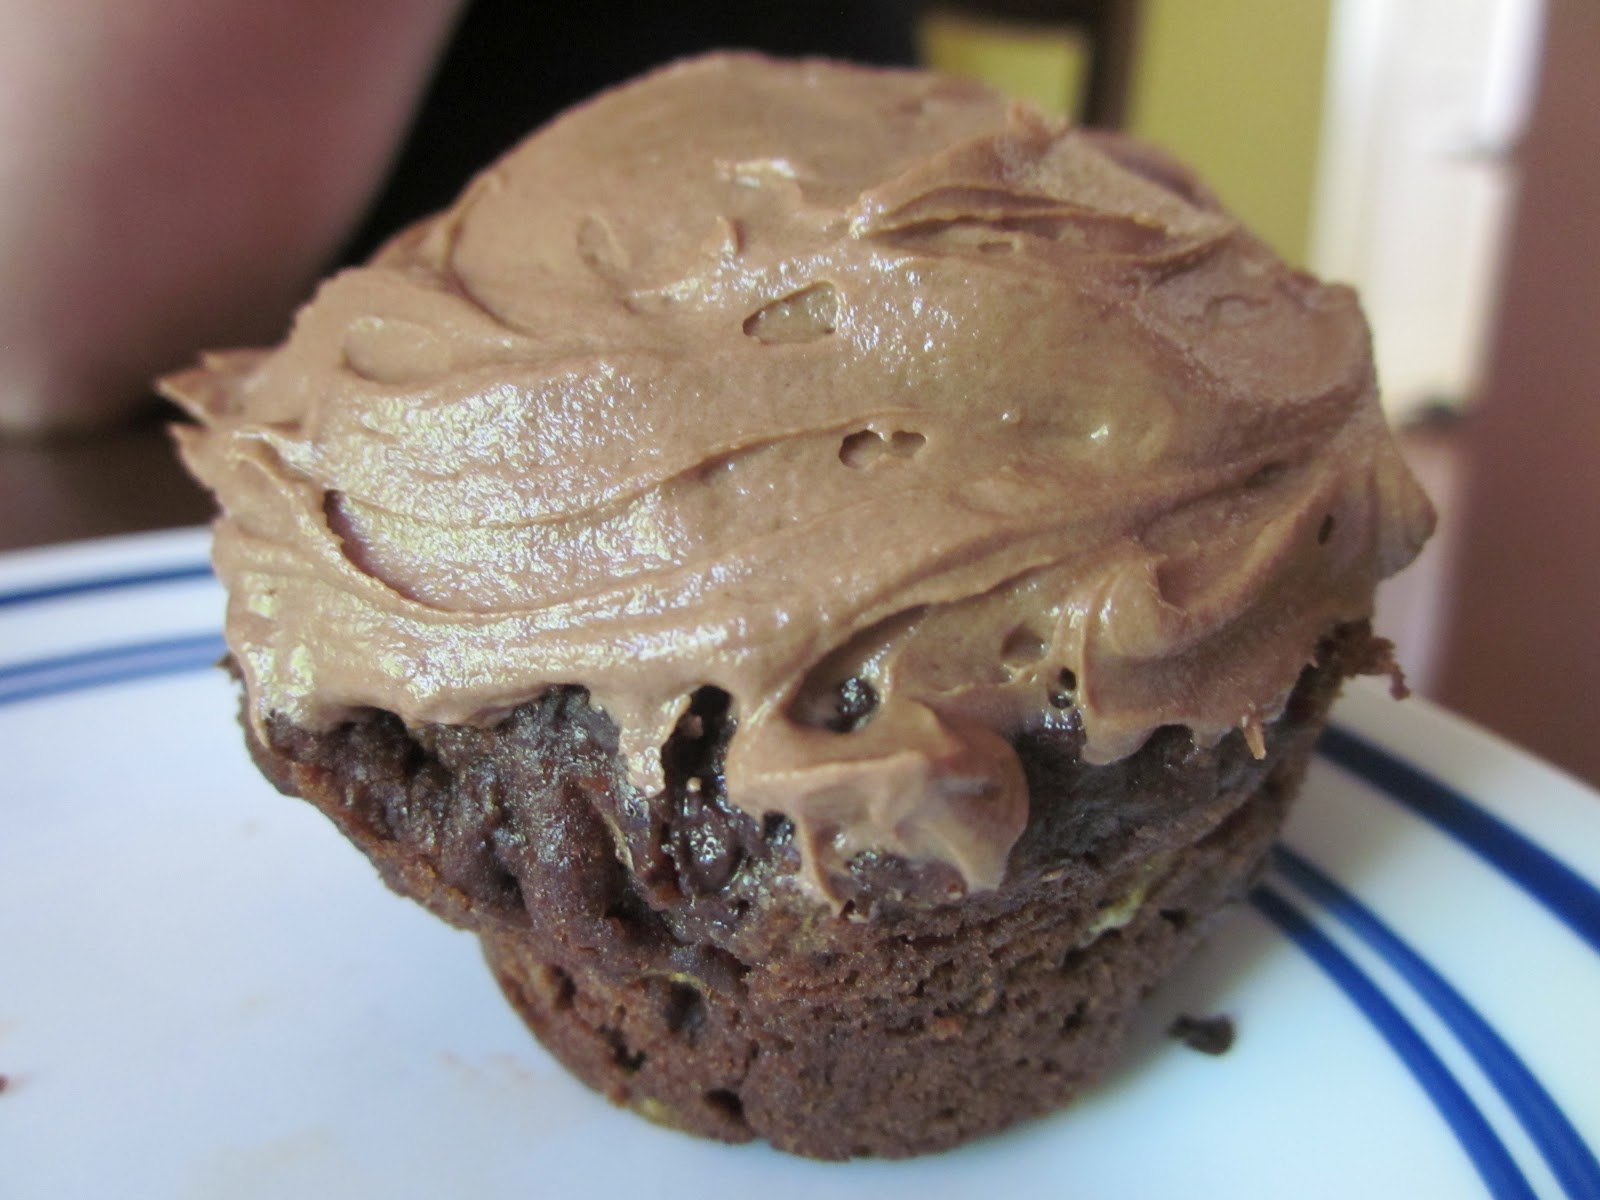
Chocolate zucchini cupcakes


I realized I need to amp up the sweets on this blog - it's been all meals and gardening lately!  Here is the first in a series of desserts: Chocolate Zucchini cupcakes!  It's a cake recipe that I decided to make into cupcakes and it worked quite well.  I've used this recipe many times from a lovely blog I read, Chocolate & Zucchini (which is aptly named).  This is a delicious, moist cake which manages to hide 2 cups of zucchini among its chocolatey crumbs.  If you're trying to get your kids (or spouse) to eat more veggies, this is a great way to sneak it in!

Chocolate Zucchini Cupcakes

Ingredients:
2 cups flour
1/2 cup cocoa
1 tsp baking soda
1/2 tsp baking powder
1/2 tsp sea salt
1 scant cup brown sugar
1/2 cup butter or olive oil
1 tsp vanilla
1 tsp instant coffee
3 large eggs
2 cups grated, unpeeled zucchini
1 cup semi-sweet chocolate chips

Directions:
Grease a muffin tin and a half (this recipe made 18 cupcakes), and preheat oven to 350°.


Cream the butter and sugar together. 


Add eggs, coffee and vanilla


Mix well - one egg at a time if you can remember :)


In a separate bowl, mix together the dry ingredients.


 Dump 2/3 of the dry ingredients in the butter/sugar/egg mixture.  Place your grated zucchini in with the other 1/3 of the dry ingredients.


Mix up both bowls, coating and declumping the zucchini well. 


Now, the moment you've all been waiting for, stir it all together until just blended.


Now, I forgot to take a picture of the batter in the muffin tin before it went in the oven.  Fill the muffin tins just to the rim and pop in the oven for 20-25 minutes.

Baby interlude...

While they were cooking I went to take a picture of my beautiful sleeping baby's toes.


Back to the cupcakes! When a toothpick comes out clean, take out the cupcakes and let cool for 10 minutes, then pop onto a cooling rack. 


Top with your favourite chocolate icing - mine is this Nutella Buttercream.  I got it off Pinterest, and here is the oh-so-simple recipe:

Nutella Buttercream Frosting

1/2 C butter, room temperature
1 C Nutella
1 C powdered sugar, sifted
1-2 T milk

Just blend with a hand-mixer and spread it on nice and thick.


Don't think about the calories in the frosting... you're eating a cupcake with vegetables in it!!